

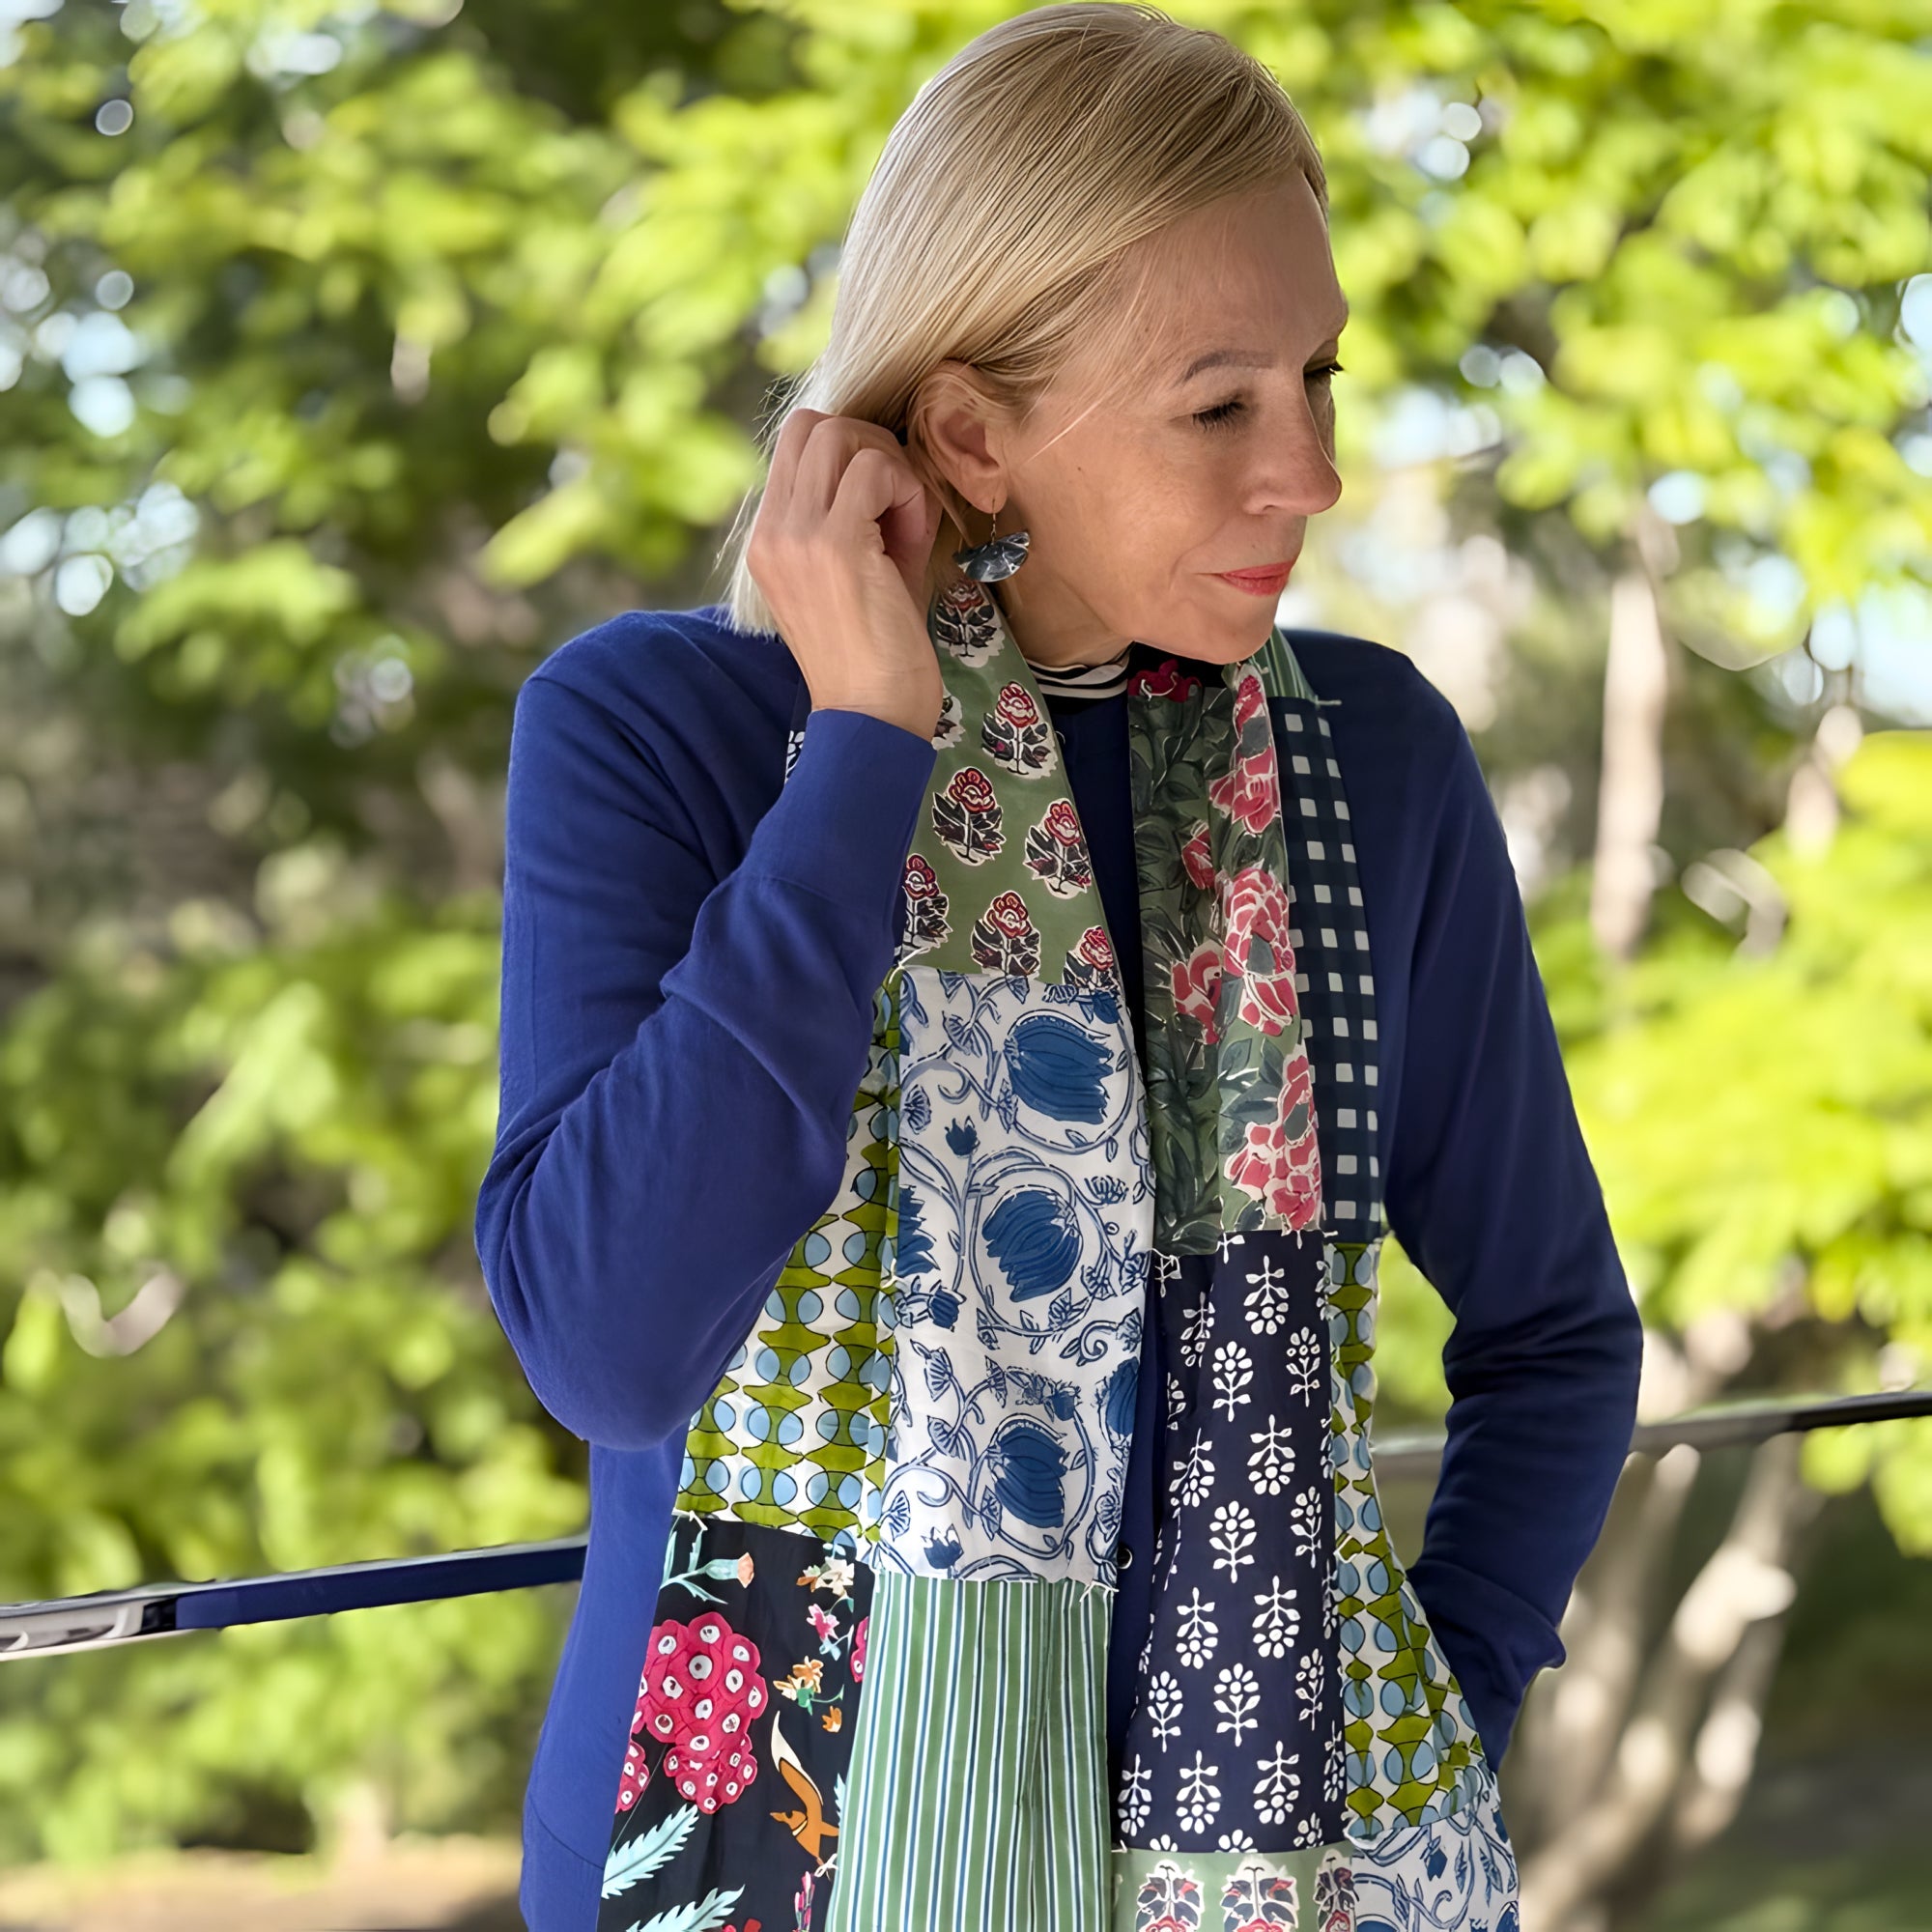
Sew Along: The Butter Quilt Scarf Kit
Create a beautifully quilted scarf designed for comfort, creativity, and everyday wear.
Thoughtfully curated and beginner-friendly, the Butter Quilt Scarf Kit includes everything you need to sew a timeless handmade piece with a soft, artisanal finish.
What’s Included in the Kit:
- Printed pattern (Butter Quilt Scarf PDF Pattern)
- 8 coordinating fabrics (pre-cut into 32 pieces)
- Clover Sashiko needle
- Sashiko threads
- Needle threader
- Quilt wadding
- Signature bamboo point turner
- Woven label
Don't have a Butter Quilt Scarf Kit yet? Don't miss out! You can get one by clicking HERE.
Getting Started
1. Plan Your Layout
Separate the fabrics into two sets and arrange them end to end in an 8 x 2 layout. Once you’re happy with the colour placement, take a quick photo on your phone as a reference before sewing.

2. Piece the Scarf Panels
With right sides facing together, sew the fabric pairs along the long edges. Continue joining the pairs end to end until you create two full scarf lengths, each made up of 16 pieces. Press all seams flat for a clean finish.

3. Layer the Scarf
On a flat surface, lay out the quilt wadding. Position one scarf panel on top with the right side facing upward.

4. Add the Second Panel
Place the second scarf panel on top with the right side facing downward, creating a fabric “sandwich” with the wadding in between.

5. Pin Everything Together
Carefully pin through all three layers, matching seams and edges around the entire scarf. If desired, insert the woven label into one side seam before stitching.

6. Helpful Sewing Tips
For smoother stitching and easier handling, increase your stitch length to 3. A walking foot can be especially helpful when sewing through layered fabrics and wadding
7. Stitch Around the Edges
Sew around the full perimeter of the scarf, leaving a 10cm opening along one long side so the scarf can be turned through later.

8. Turn and Finish
Trim back excess wadding and clip the corners to reduce bulk. Turn the scarf right side out through the opening.
Using the bamboo point turner included in your kit, gently shape the corners for a crisp finish. Press well, then close the opening with a neat ladder stitch.

9. Add the Final Details
Following the illustrations in the pattern, use the Sashiko needle and thread to create the decorative quilt ties that complete the scarf.

Your Butter Quilt Scarf is now finished—ready to wear, style, and admire for seasons to come.
Here are a few great ways to show off your Butter Quilt Scarf:


Leave a comment
This site is protected by hCaptcha and the hCaptcha Privacy Policy and Terms of Service apply.