


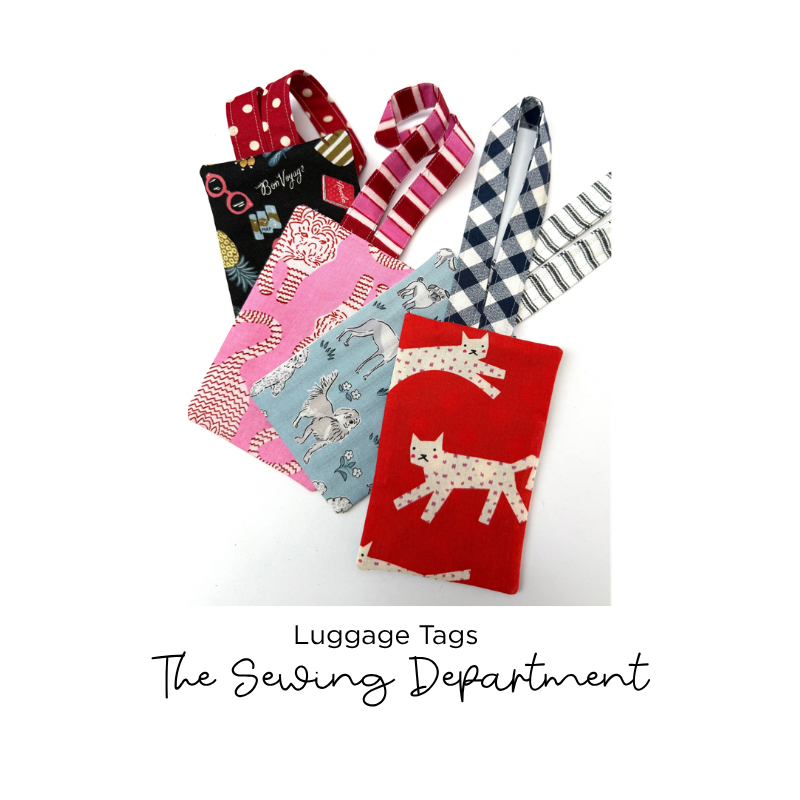
The Luggage Tag Tutorial
We've been making these luggage tags for years and travelled all over the world with them attached to our luggage. We have never arrived at a destination to find a ripped off or missing tag, hence the recommended fabric, the finished size that stands out on the carousel and following the sewing steps so your strap is double stitched.
Nothing makes a suitcase easier to spot on the carousel than a bright, handmade luggage tag. This is one of our favourite quick-sew projects, it uses just a handful of scraps, comes together in under 30 minutes, and makes a gorgeous little gift for a fellow traveller. Whether you're using novelty prints, stripes, or gingham, every tag turns out completely one-of-a-kind. Make them fun and quirky so there's no confusion.
Let's get into it.
What You'll Need
- 1 front piece, 4 x 6 inches
- 2 back pieces, 4 x 8 inches
- 1 strap piece, 12 x 3 inches
- Matching thread
- Sewing pins or clips
- Point turner
- Iron and cutting mat
*quilting cottons are best suited and certainly sturdy enough without the need for interfacing. Feel free to interface lighter fabrics. You might think the size of the finished tag is too big, but in relation to the size of a large suitcase, it's not!
Step 1
Cut 1 strap piece 12 x 3 inches, cut 2 back pieces 4 x 8 inches, and cut 1 front piece 4 x 6 inches.

Step 2
Fold the two back pieces in half with wrong sides together, press.

Step 3
Press your strap piece in half with wrong sides together.

Step 4
Open and fold both long raw edges to the centre and press.

Step 5
Fold in half and pin or clip opening.

Step 6
Top stitch your strap on both sides to enclose opening.

Step 7
Fold the strap in half, pin it to the centre top matching the raw edges and stitch with an ⅛" seam allowance.

Step 8
Fold and pin the strap up out of the way for the next step.

Step 9
Folded edge — lay your first folded back piece on top. Align raw edges.

Step 10
Lay your second back folded piece on top. Fold — raw edges, raw edges.

Step 11
Pin around the edge to secure, matching your edges front and back.

Step 12
Sew around all 4 sides with a ¼" seam. Clip the 4 corners to reduce bulk. Turn to right side through this opening and use a point turner to poke out the corners. Press.

Step 13
Front side.

Step 14
Back side — write your details on a card and insert in the opening, wiggling it under so it sits behind the two overlapping flaps.

And there you have it — your very own handmade luggage tag! We'd love to see your finished versions, so be sure to tag us on Instagram: @thesewingdepartment




Leave a comment
This site is protected by hCaptcha and the hCaptcha Privacy Policy and Terms of Service apply.